
Before Every Long Drive: A Safety Check You Can Do in 10 Minutes
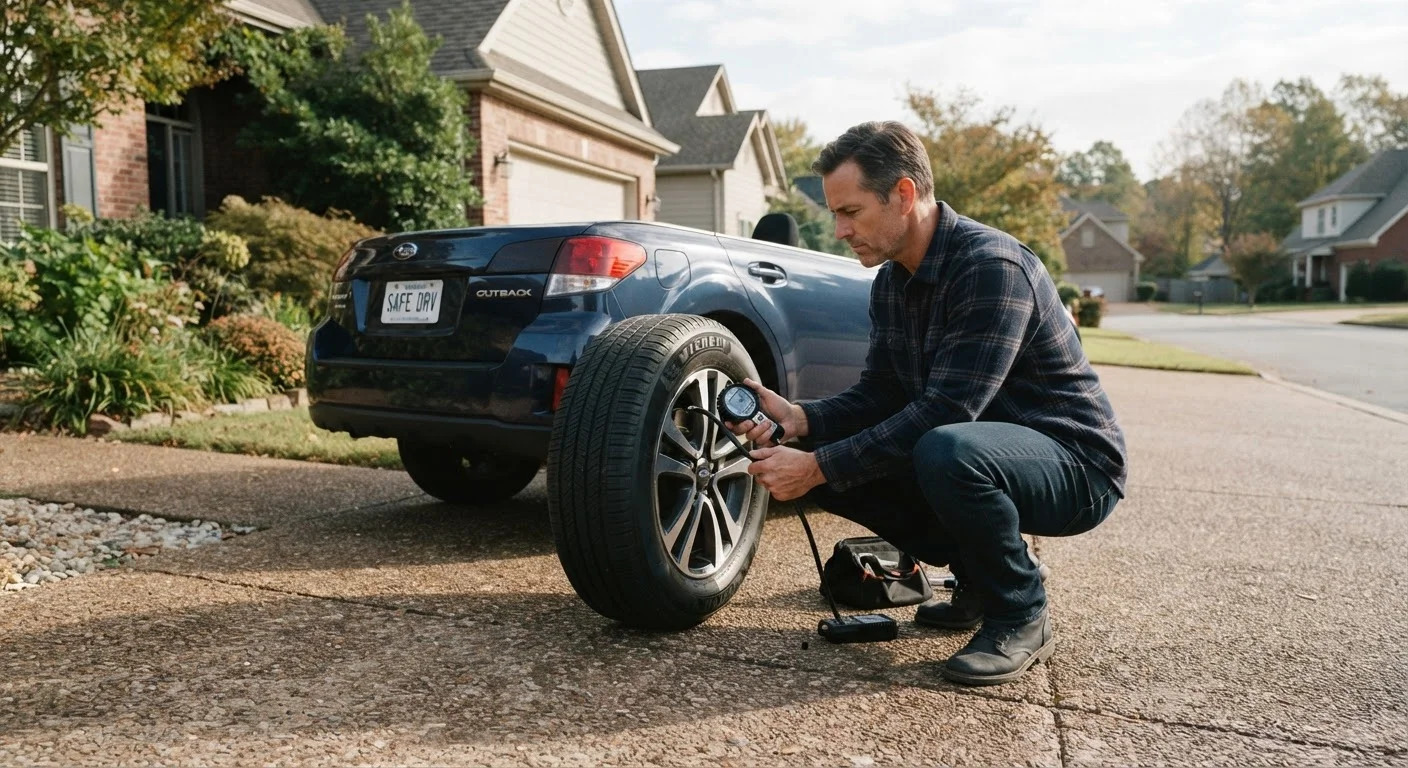
Photo credit: SmartReads.net | Simple Search, Relevant Results
In this article
A practical walkthrough of the quick vehicle checks every driver should complete before hitting the motorway.
Key Takeaways
- Tire pressure and tread condition are the single highest-impact checks before any long drive.
- Fluid levels - oil, coolant, and washer fluid - take under two minutes to verify and can prevent breakdowns.
- Lights, mirrors, and wiper blades are frequently overlooked but directly affect visibility and safety.
- A quick dashboard scan before pulling out can flag warning lights that warrant attention before highway speeds.
- This checklist takes 10-15 minutes and requires no tools for most steps.
Why a Pre-Drive Check Matters More on Long Trips
Short trips are forgiving. If something's slightly off - a soft tire, a dim headlight - you're rarely far from home. Long drives on fast roads are a different calculation. A slow tire leak that's manageable around town can become a blowout at 70 mph. A cracked wiper blade that smears instead of clears turns a rain shower into a visibility emergency.
This checklist is designed for busy drivers who don't want to spend their Saturday morning under the hood. Most steps are visual; a few involve touching or listening. You don't need a mechanic's background - you need 10 focused minutes and a system.
If you've been seeing any warning lights lately, address those before starting this checklist. Our guide to dashboard warning lights most drivers ignore breaks down which ones signal immediate risk.
Tires
Fluid Levels
Lights and Visibility
Under the Hood and Exterior
In-Cabin and Safety Equipment
What to Have on Hand
Most of this checklist requires nothing more than your eyes and a minute of attention. A few items benefit from simple tools you likely already own.
Tire pressure gauge
Measures the actual PSI in each tire - the only accurate way to confirm pressure without guessing.
Flashlight or phone torch
Illuminates the engine bay, under the car, and tire sidewalls in low-light conditions.
Tread depth gauge
Gives a precise tread depth reading in 32nds of an inch; a quarter works as a rough alternative.
Engine oil and coolant top-up supplies
Having the correct oil grade and pre-mixed coolant on hand lets you correct low levels before departure.
For a deeper pre-trip review that also covers packing, navigation, and fuel planning, see our road trip pre-departure checklist. This article focuses specifically on the vehicle safety checks you should run every time - not just on major trips.
Don't Skip the Spare
Many drivers discover their spare is flat only after they've had a blowout. Compact spares (sometimes called donuts) also come with speed and distance restrictions - typically 50 mph and 50-70 miles maximum - so check the sidewall rating and plan accordingly. If your vehicle uses a tire inflator kit instead of a spare, verify the sealant canister hasn't expired.
Brake Concerns Should Go to a Mechanic
This checklist includes basic fluid checks, but brake system diagnostics require professional equipment. If your vehicle pulls to one side when braking, the pedal feels soft or spongy, or you hear grinding sounds, do not proceed on a long drive - have a qualified mechanic inspect the brakes first.
After the Check: Before You Pull Out
Once you've worked through the checklist, take 60 seconds inside the car before starting the engine. Adjust your mirrors - including the side mirrors to minimize blind spots. Our guide on why your blind spot is bigger than you think explains how to map yours accurately. Set your navigation, confirm your fuel level, and do a final dashboard scan after the engine starts.
These habits stack quickly. Drivers who run consistent pre-trip checks are better positioned to catch developing problems early - before a repair becomes a roadside emergency. If you want to get more from every tank on the road ahead, pair this checklist with our fuel efficiency preparation checklist for additional steps that take just a few minutes more.
Never Ignore an Active Warning Light on the Highway
A warning light that appears after you've started driving should never be dismissed until you understand what it means. The check engine, oil pressure, temperature, and tire pressure monitoring lights all carry different urgency levels. Pull over safely when it is practical to do so and consult your owner's manual or a mechanic before continuing at highway speeds. Our guide to dashboard warning lights covers the ones that require immediate action.

Author
Autos Editorial Team
Autos Editorial Team is the collective byline for our editorial team and contributor network. Articles published under this byline or an editorial pen name are researched, written, and reviewed according to our editorial standards for clarity, consistency, and independence before publication.
View all articles →