
The Weekend Prep Window: Structuring Two Hours for a Full Week of Meals
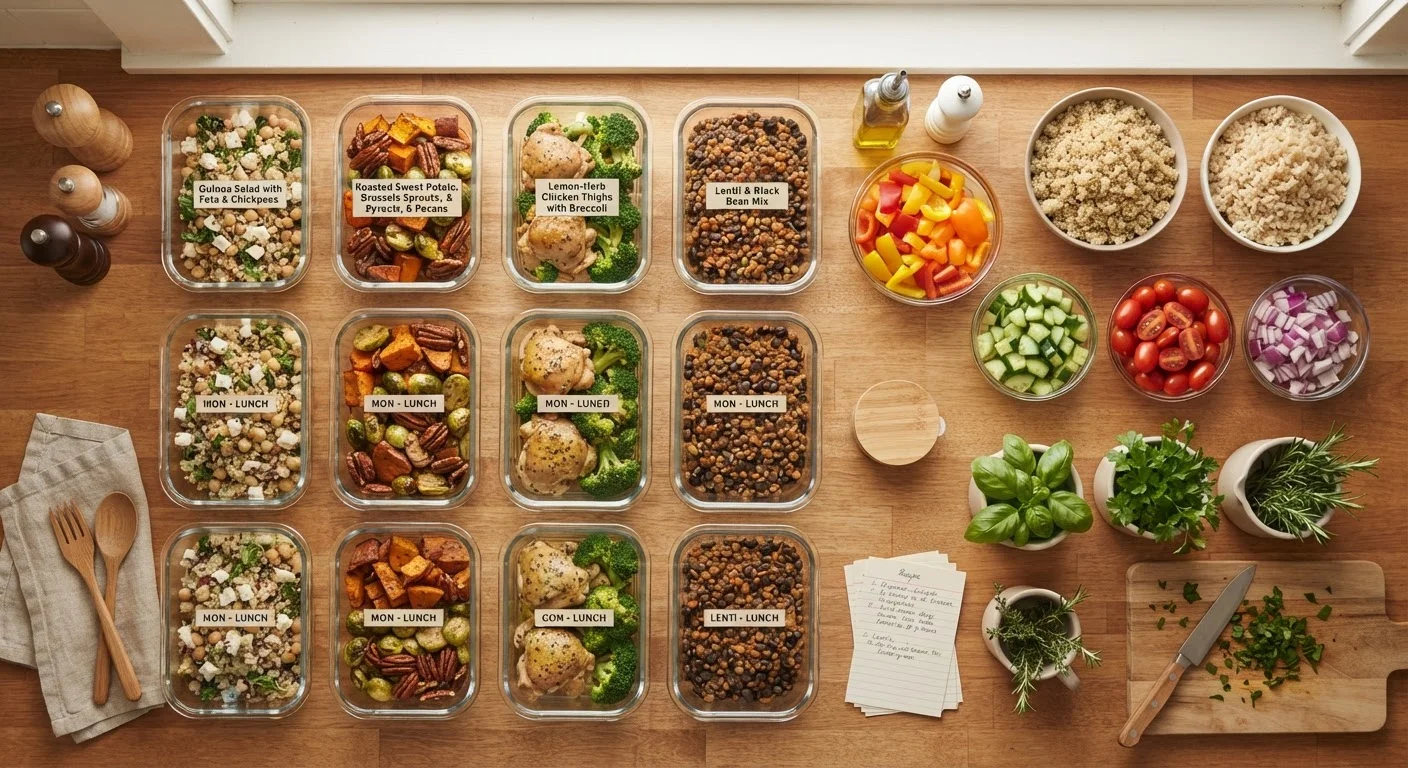
Photo credit: SmartReads.net | Simple Search, Relevant Results
In this article
Learn how to organise a focused two-hour prep session that keeps breakfasts, lunches, and dinners covered from Monday to Friday.
Key Takeaways
- A structured two-hour prep window on Sunday can reliably cover breakfasts, lunches, and dinners Monday through Friday.
- Sequencing tasks by cook time - not by meal type - makes the most efficient use of your two hours.
- Component prepping (cooking flexible building blocks) outperforms full-meal assembly for busy weekday variety.
- Proper labelling and storage order prevents the mid-week spoilage that derails most prep efforts.
- A short planning step before you cook - choosing a loose menu and auditing your pantry - is the real time-saver.
Why Two Hours Is the Right Target
Most prep-session failures come from two extremes: too ambitious (a four-hour cook-a-thon that feels unsustainable after one try) or too loose (no structure, so the session drifts and stalls). Two hours is long enough to produce meaningful output - cooked grains, roasted vegetables, prepped proteins, and ready breakfasts - but short enough to fit into a realistic Sunday without consuming the whole day.
The key insight is that you're not cooking five separate dinners. You're preparing components: flexible building blocks that assemble into varied meals in under ten minutes each evening. This distinction changes everything about how you use the two hours. If you're new to this approach or want to compare it with full-batch cooking, our batch cooking vs. component prepping guide is a useful starting point.
Large sheet pan (rimmed baking sheet)
Roasts vegetables and proteins in the oven simultaneously, freeing up stovetop space.
Large lidded pot or Dutch oven
Cooks grains, soups, or legumes in bulk as a hands-off background task.
Sharp chef's knife and cutting board
Speeds up all chopping and portioning tasks throughout the session.
Airtight glass or BPA-free plastic containers (assorted sizes)
Stores prepped components safely and keeps them fresh through Friday.
Masking tape and a marker (or pre-printed labels)
Labels containers with contents and prep date so nothing gets forgotten.
Instant-read thermometer
Confirms proteins reach a safe internal temperature without guesswork.
Setting Up for Success Before You Cook
The session begins before you turn on the oven. A realistic menu plan and a stocked pantry are the two prerequisites that determine whether your two hours feel productive or chaotic. Professionals who skip this step often find themselves mid-cook, missing a key ingredient or uncertain what they're even making - and that uncertainty burns time.
What you will need
If you're building this habit from scratch, our beginner's guide to meal prep covers core principles and realistic first-week expectations before you commit to a full two-hour session.
Don't Prep More Than Five Days Ahead
Most cooked proteins and prepared vegetables maintain quality and safety for three to five days in the refrigerator. Prepping a full seven-day supply in one session risks food waste and, more importantly, food safety issues toward the end of the week. If you need coverage beyond Friday, plan a brief mid-week top-up cook rather than extending fridge storage times.
The Two-Hour Session, Step by Step
The steps below are sequenced by cook time, not by meal type - this is the single structural principle that makes two hours work. Passive oven and stovetop time runs in the background while you handle active tasks, so nothing is ever truly idle. Follow the sequence as closely as your specific menu allows.
Plan your menu and audit your pantry (10 minutes, before cook day)
Before you touch a knife, write down the five dinners, five lunches, and a repeatable breakfast format you intend to eat. Then scan your pantry and fridge against that list. This ten-minute step - done the day before prep if possible - eliminates mid-session grocery runs and decision fatigue while you're cooking.
Aim for meals that share ingredients. If roasted sweet potatoes appear in both a dinner bowl and a work lunch, you only prep them once. See our building-block pantry guide for the versatile staples that make this ingredient-overlap strategy easy.
Run through the pre-session setup checklist (5 minutes)
Clear and wipe down counter space, pull out every container you'll need, pre-heat the oven, and fill the pot with water for grains. Locate your labels and marker. This five-minute setup prevents the constant searching that quietly eats your two-hour window. For a complete pre-cook walkthrough, see our Sunday setup checklist.
Start the longest-cooking items first (minutes 0-10)
The first thing that goes into the oven or onto the burner should be whichever ingredient takes longest: a tray of root vegetables (35-45 minutes), a pot of dried lentils or brown rice (30-45 minutes), or a batch of hard-boiled eggs (12 minutes). Set a timer and move on immediately - passive cook time is your most valuable resource.
Use active cook time to chop and prep raw components (minutes 10-40)
While the oven and pot run, work through your raw prep: wash and chop salad greens, slice raw vegetables for snacking or stir-fries, portion breakfast ingredients (overnight oats, pre-measured smoothie packs), and marinate any proteins that won't cook today. Group similar tasks - all chopping before any mixing - to stay in a rhythm and avoid cross-contamination.
This phase is the heart of the component-prepping approach. Rather than assembling complete meals, you're building flexible building blocks that can recombine into different dishes each day. If you're weighing this against a full batch-cooking method, our batch cooking vs. component prepping comparison lays out the trade-offs clearly.
Cook proteins and any remaining hot items (minutes 40-80)
Once your first oven batch is done, use that hot oven for proteins - chicken thighs, salmon fillets, or a sheet of seasoned tofu. Simultaneously, cook any stovetop items: a quick sauté of ground turkey, a pot of soup, or a batch of scrambled eggs for the fridge. Use an instant-read thermometer to confirm safe internal temperatures for poultry (165°F) and pork (145°F).
Rotate items efficiently: as one tray comes out, the next goes in. The stovetop handles anything that finishes in under ten minutes while the oven handles longer-cook proteins.
Cool, label, and store everything (minutes 80-105)
Spread hot food in shallow containers to speed cooling - never seal a hot container and refrigerate it immediately, as that traps steam and raises fridge temperature. Once components have cooled to roughly room temperature (no more than 30 minutes), seal, label with the contents and prep date, and store. Place items you'll use earliest in the week at the front of the fridge.
Proper storage is the single biggest factor in whether your prep makes it to Friday. For a deeper look at the planning and storage gaps that cause mid-week meal failures, read why your meal prep falls apart by Wednesday.
Do a five-minute end-of-session review (minutes 105-115)
Before you leave the kitchen, do a quick mental walkthrough of Monday through Friday. Does each day have a covered breakfast, lunch, and dinner component? Note any gaps - a Thursday dinner with no protein prepped, for instance - so you can fill them with a quick Tuesday top-up cook rather than a stressful Wednesday scramble. Jot one or two notes about what worked and what felt rushed; these observations make next week's session faster.
Vary Flavours, Not Ingredients
Cooking the same base components - say, roasted chicken and brown rice - doesn't mean eating the same meal five days running. Swap sauces, spice blends, and toppings to make Monday's grain bowl feel nothing like Thursday's wrap. This variety-from-components approach is lower effort than cooking new proteins every night and much more sustainable long-term.
Food Safety Is Non-Negotiable
Cooked food must not sit in the 'danger zone' (roughly 40°F to 140°F) for more than two hours total - including cooling time on the counter. When in doubt about whether something is still safe to eat, discard it. No meal prep efficiency gain is worth a foodborne illness. If you have specific health conditions that affect your immune response, consult a healthcare professional about additional food safety precautions.
Making the Habit Stick Week After Week
A single successful prep session is useful. A consistent weekly rhythm is transformative. The professionals who sustain this habit share one trait: they treat the two-hour window as a fixed appointment, not an optional weekend task. Block it on your calendar the same way you would a meeting.
Small refinements each week - a more efficient chopping sequence, a better container system, rotating two or three reliable prep menus - compound quickly. Within a month, the session feels shorter because the decisions are already made. Pair your prep habit with sensible weekday eating structure; our guide to meal timing and portion habits shows how to build the rest of the day around the food you've already prepared.
This article is for general informational and educational purposes only. It is not a substitute for advice from a qualified healthcare professional or registered dietitian. If you have specific health conditions or dietary requirements, please consult a qualified professional before making significant changes to your eating habits.

Author
Diet & Meal Plans Editorial Team
Diet & Meal Plans Editorial Team is the collective byline for our editorial team and contributor network. Articles published under this byline or an editorial pen name are researched, written, and reviewed according to our editorial standards for clarity, consistency, and independence before publication.
View all articles →